
Brume vignette
How to Brume Vignette - small devlog [en|fr]
Hello everyone! 😄
I finally have some free time to write a devlog about Brume Vignette made for the Pang Pang Club jam #PPJVignette, some time ago, Jun 16, 2020 → Jun 18, 2020.

The subject was relatively simple, “Vignette “.
**What’s a Vignette (thumbnail)? **
- a short scene, between a second and a handful of minutes.
- simple interaction
- an atmospheric capsule
- a “free” moment
Constraints:
- a square frame
- a fixed plane
A thumbnail may or may not be followed by several other thumbnails.
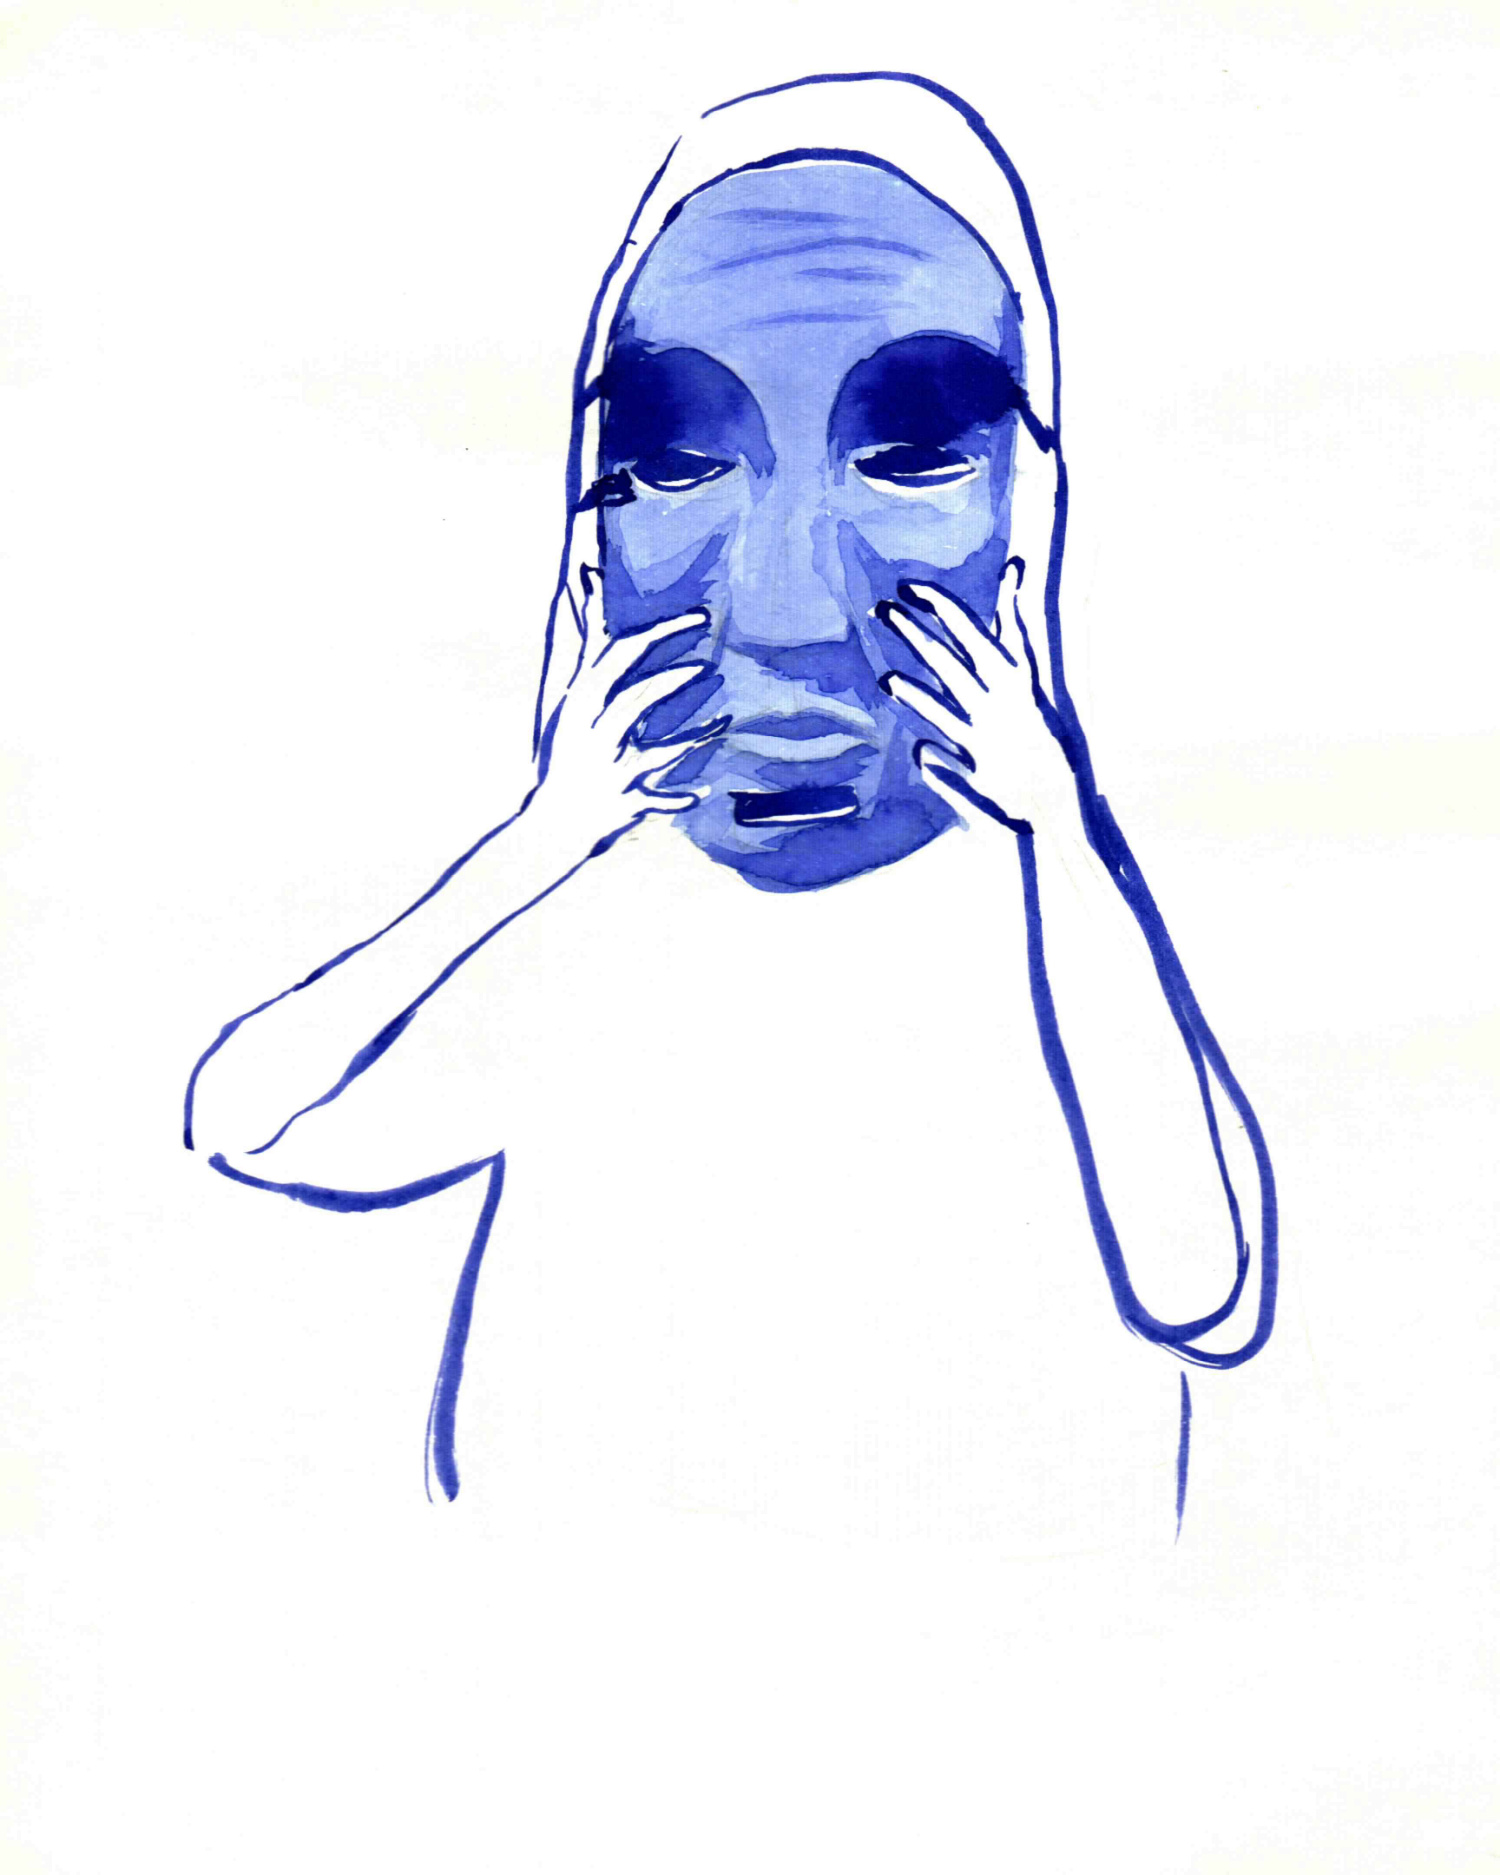
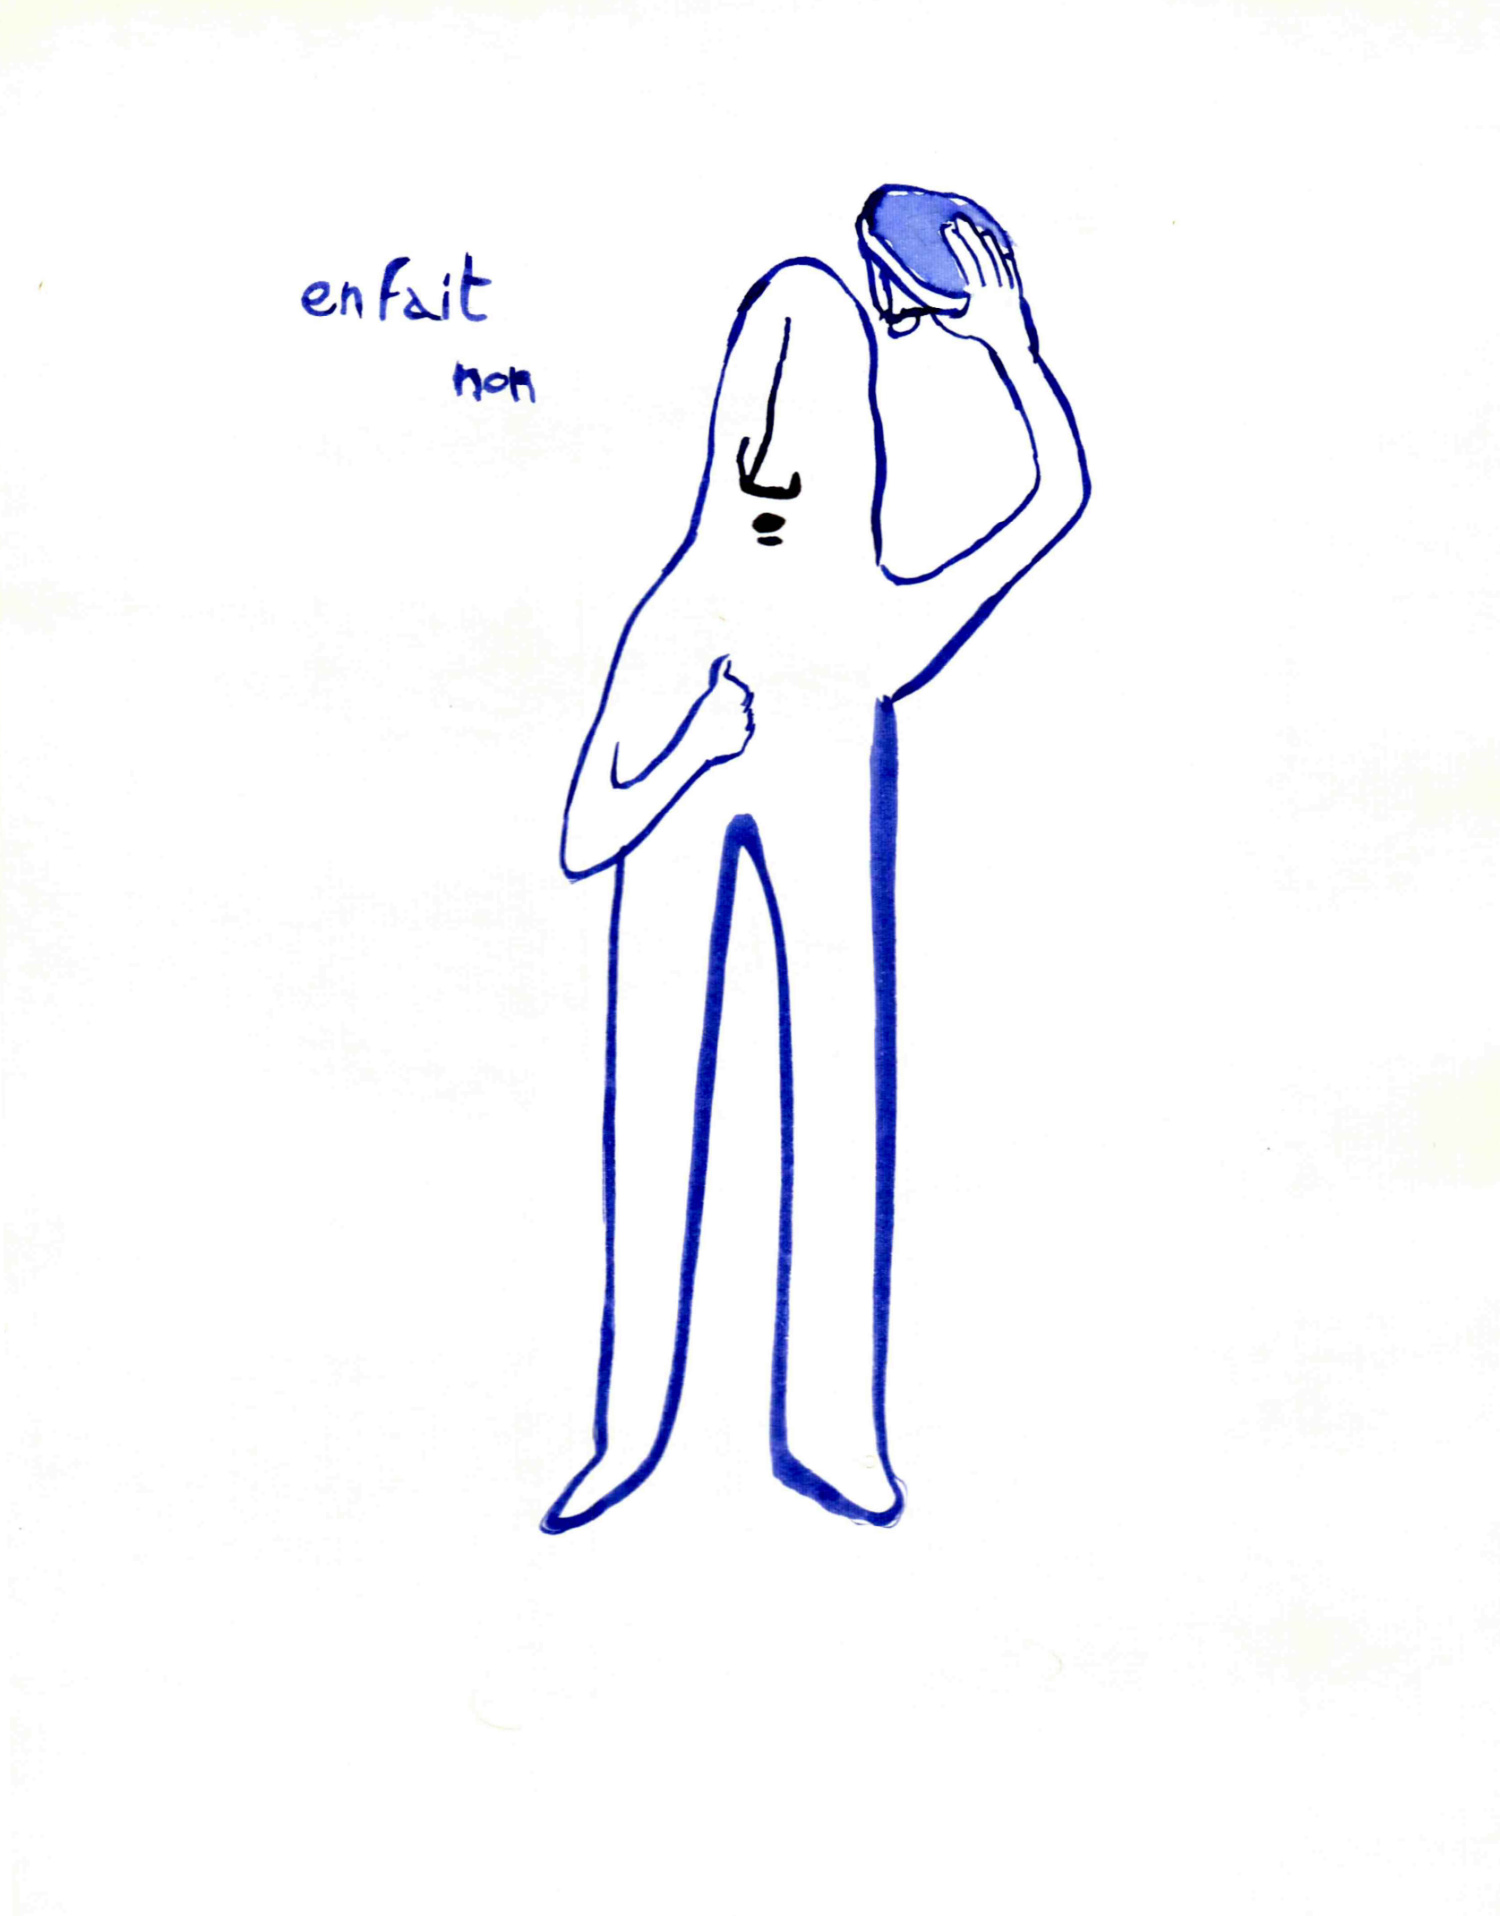
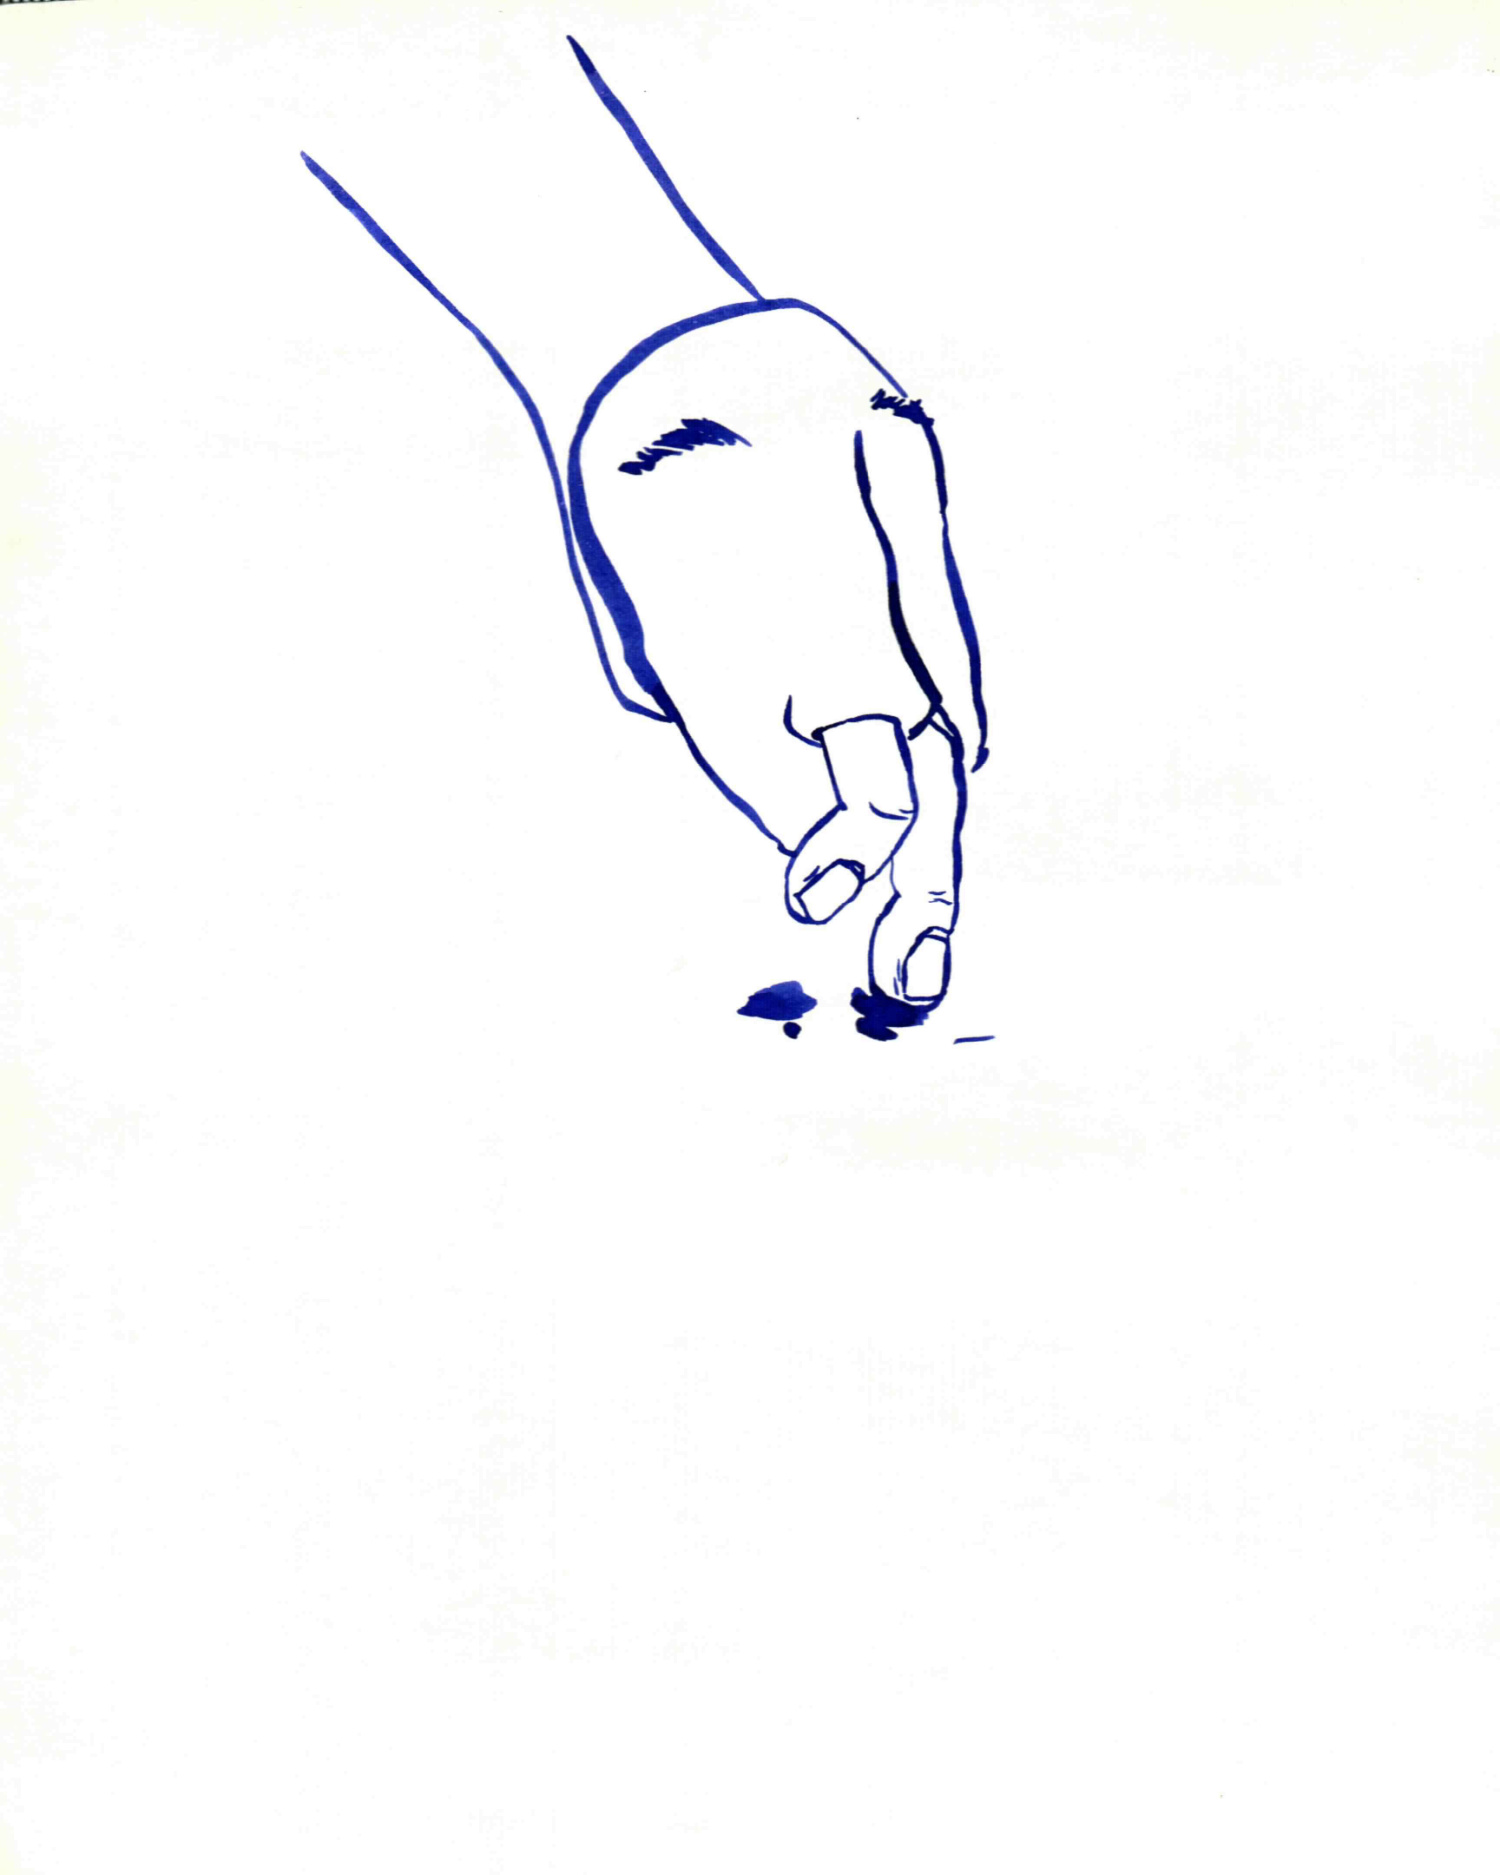
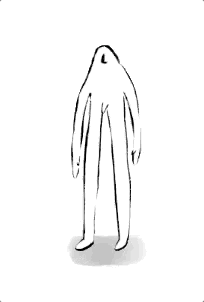
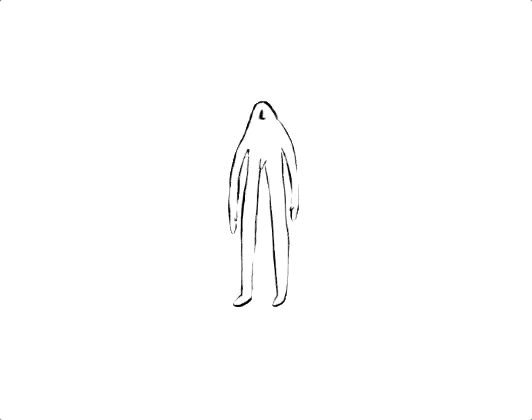
The idea was very simple for me. Since my graduation, I’ve had a series of Brume drawings around. It was an opportunity to test something more graphic with simple interactions. A little graphic dreamlike walk, rhythmed by mouse click interaction, potentially functional on the phone.
Here is the series of my original drawings that inspired me.


My first goal, one week before the jam, was to prepare myself as much as possible, without creating assets. My plan was to do in advance:
- A story board
- Set up the workflow, especially for assets (drawing, animation etc.)
- Find the programming methods for the main modules (scene sequencing, drag and drop etc ).
Storyboard:
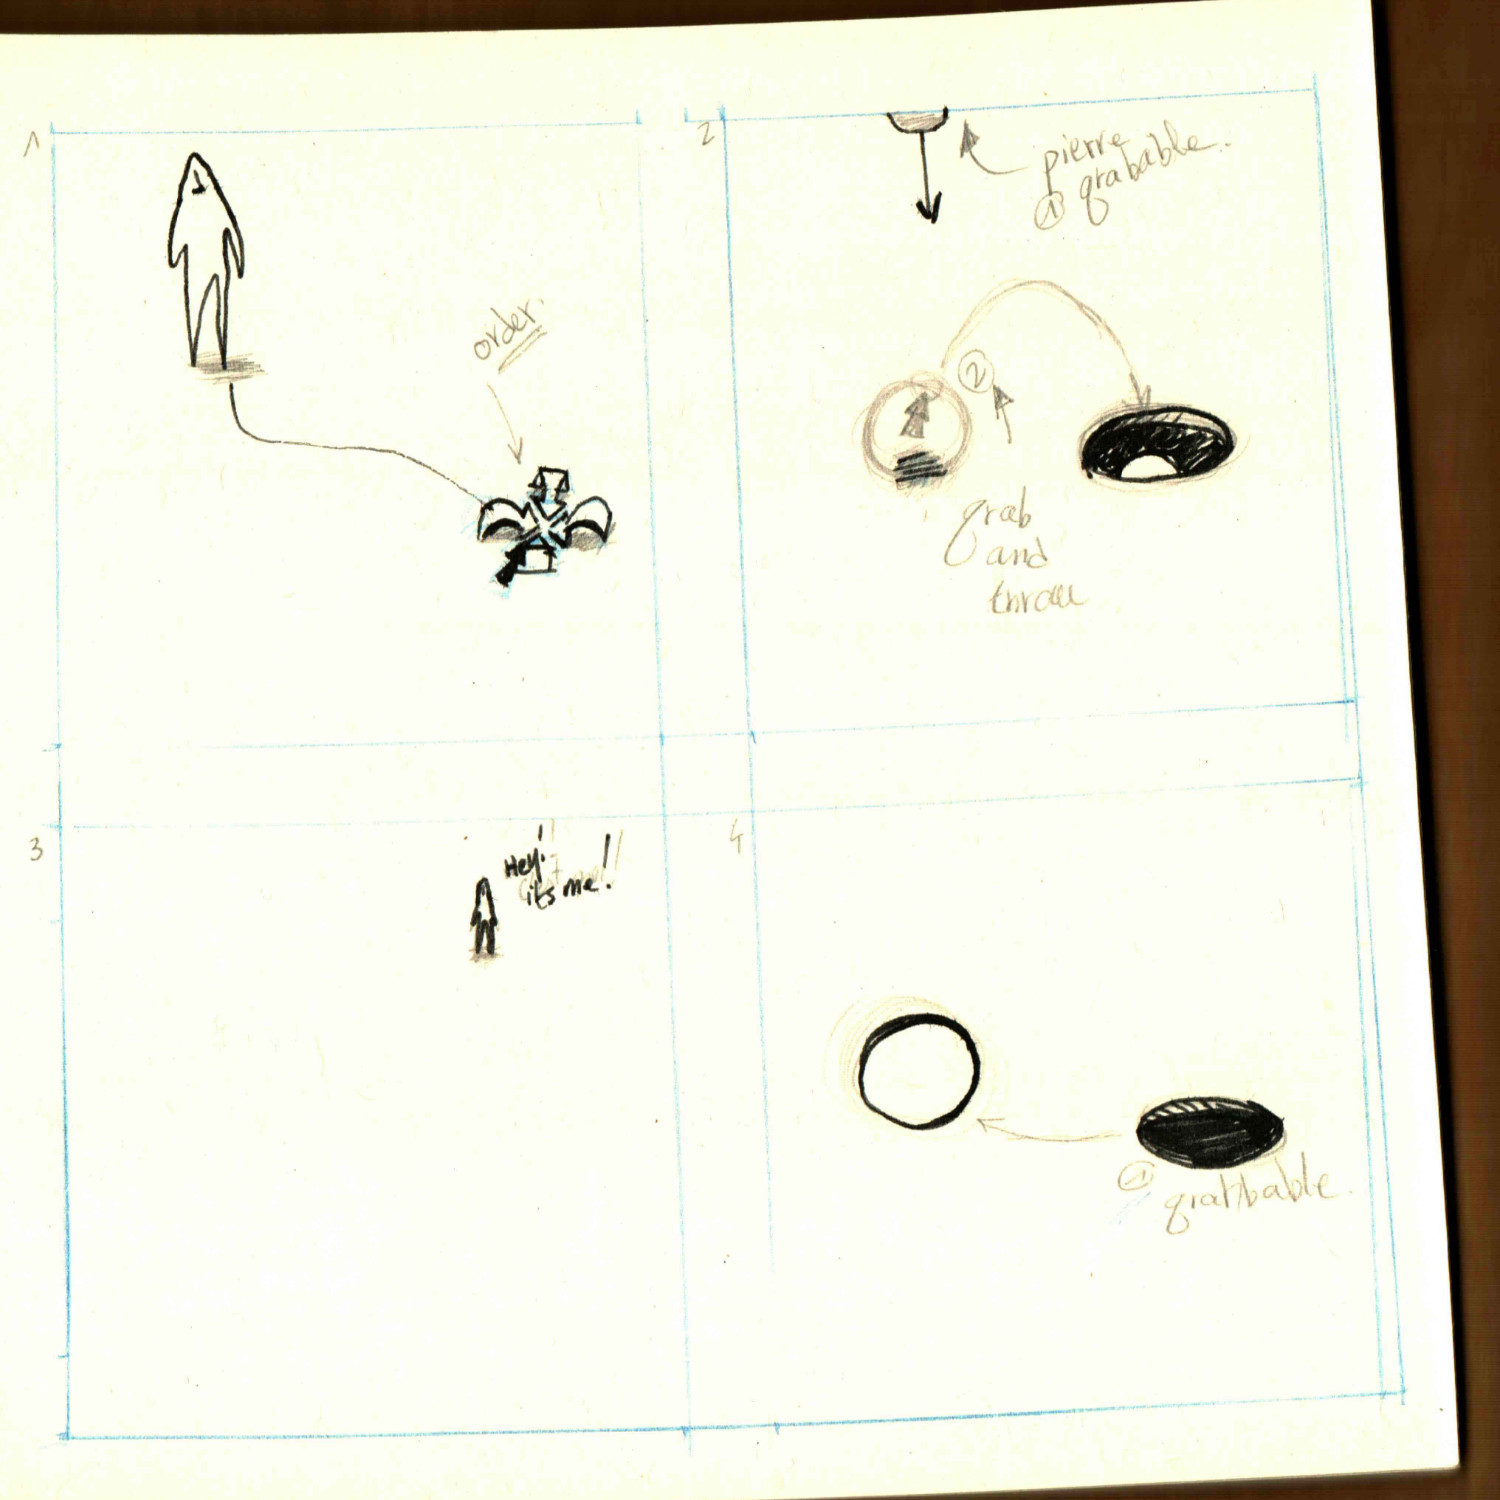
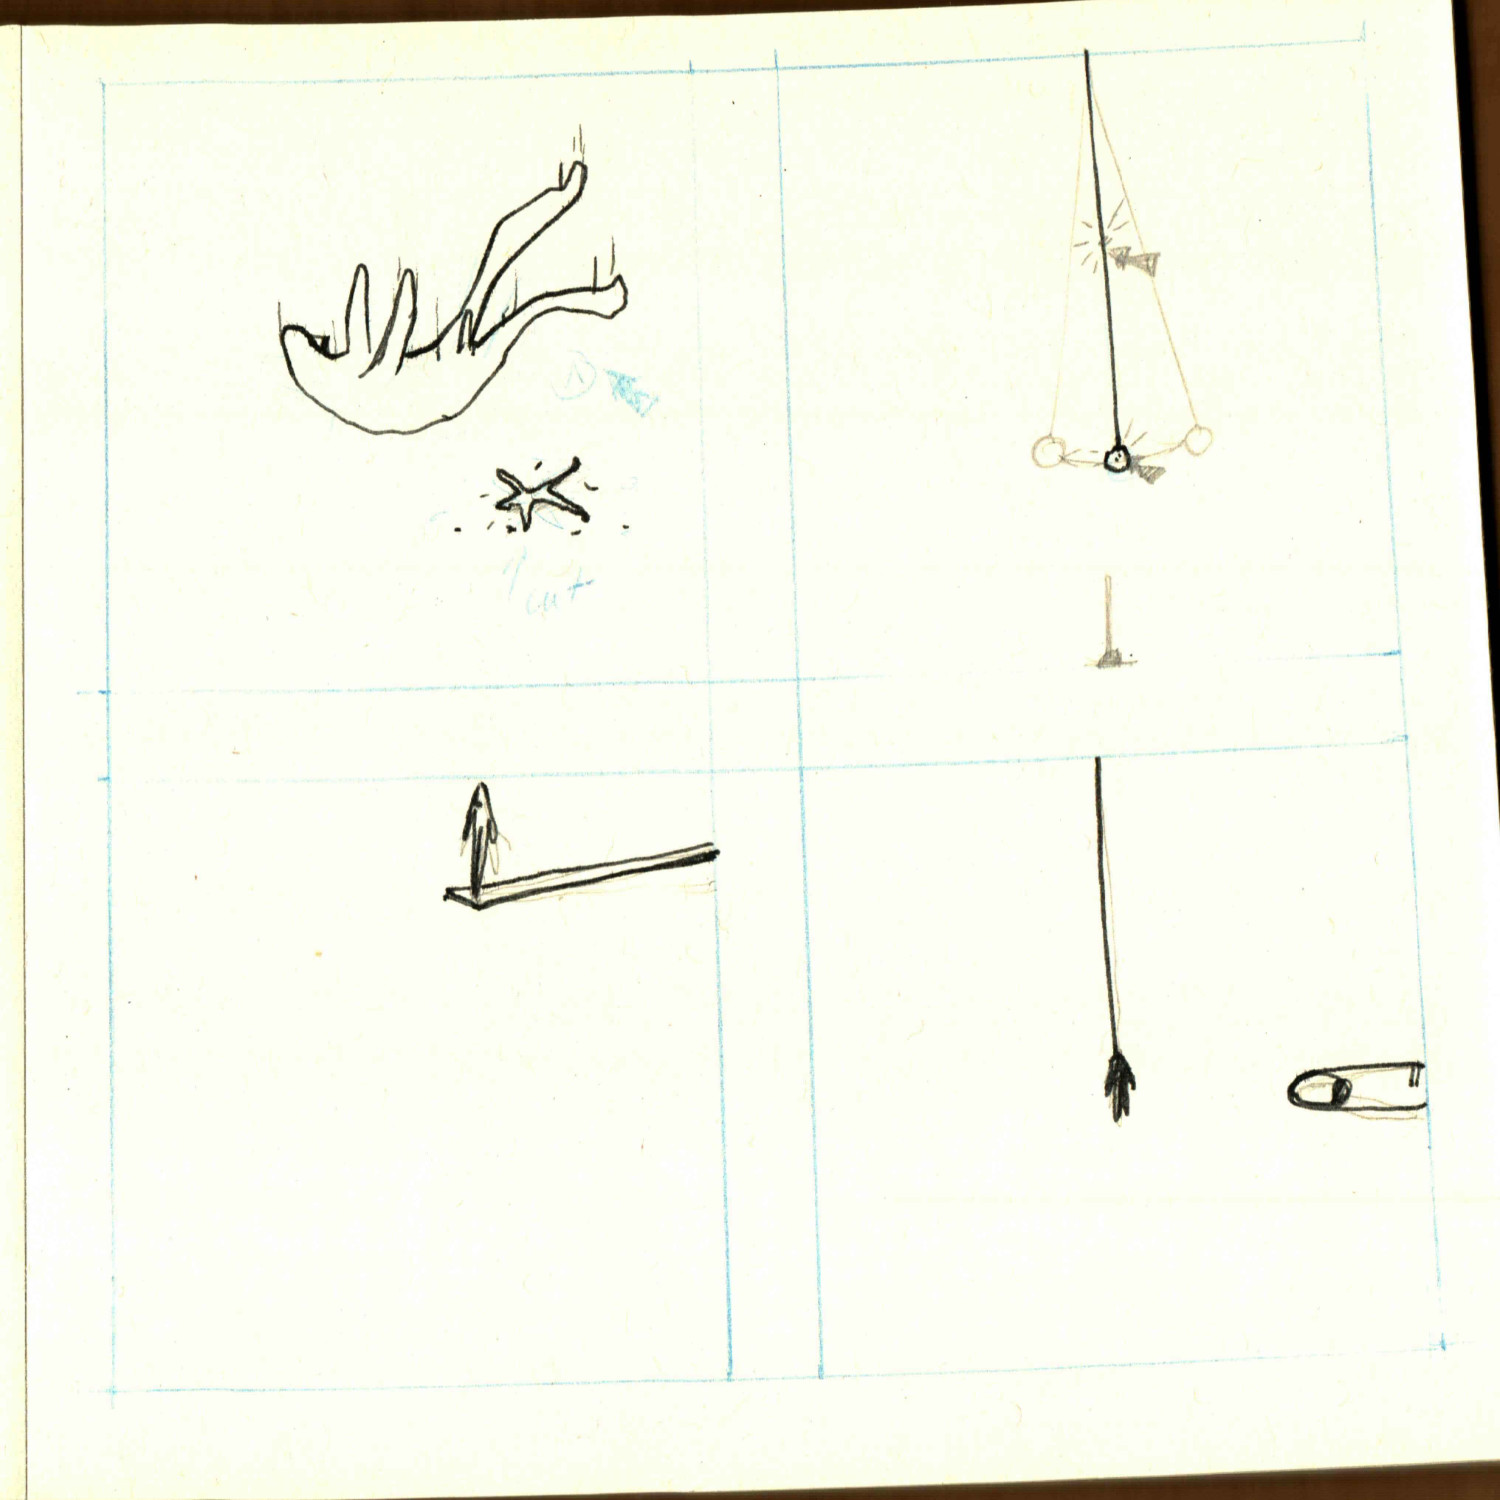
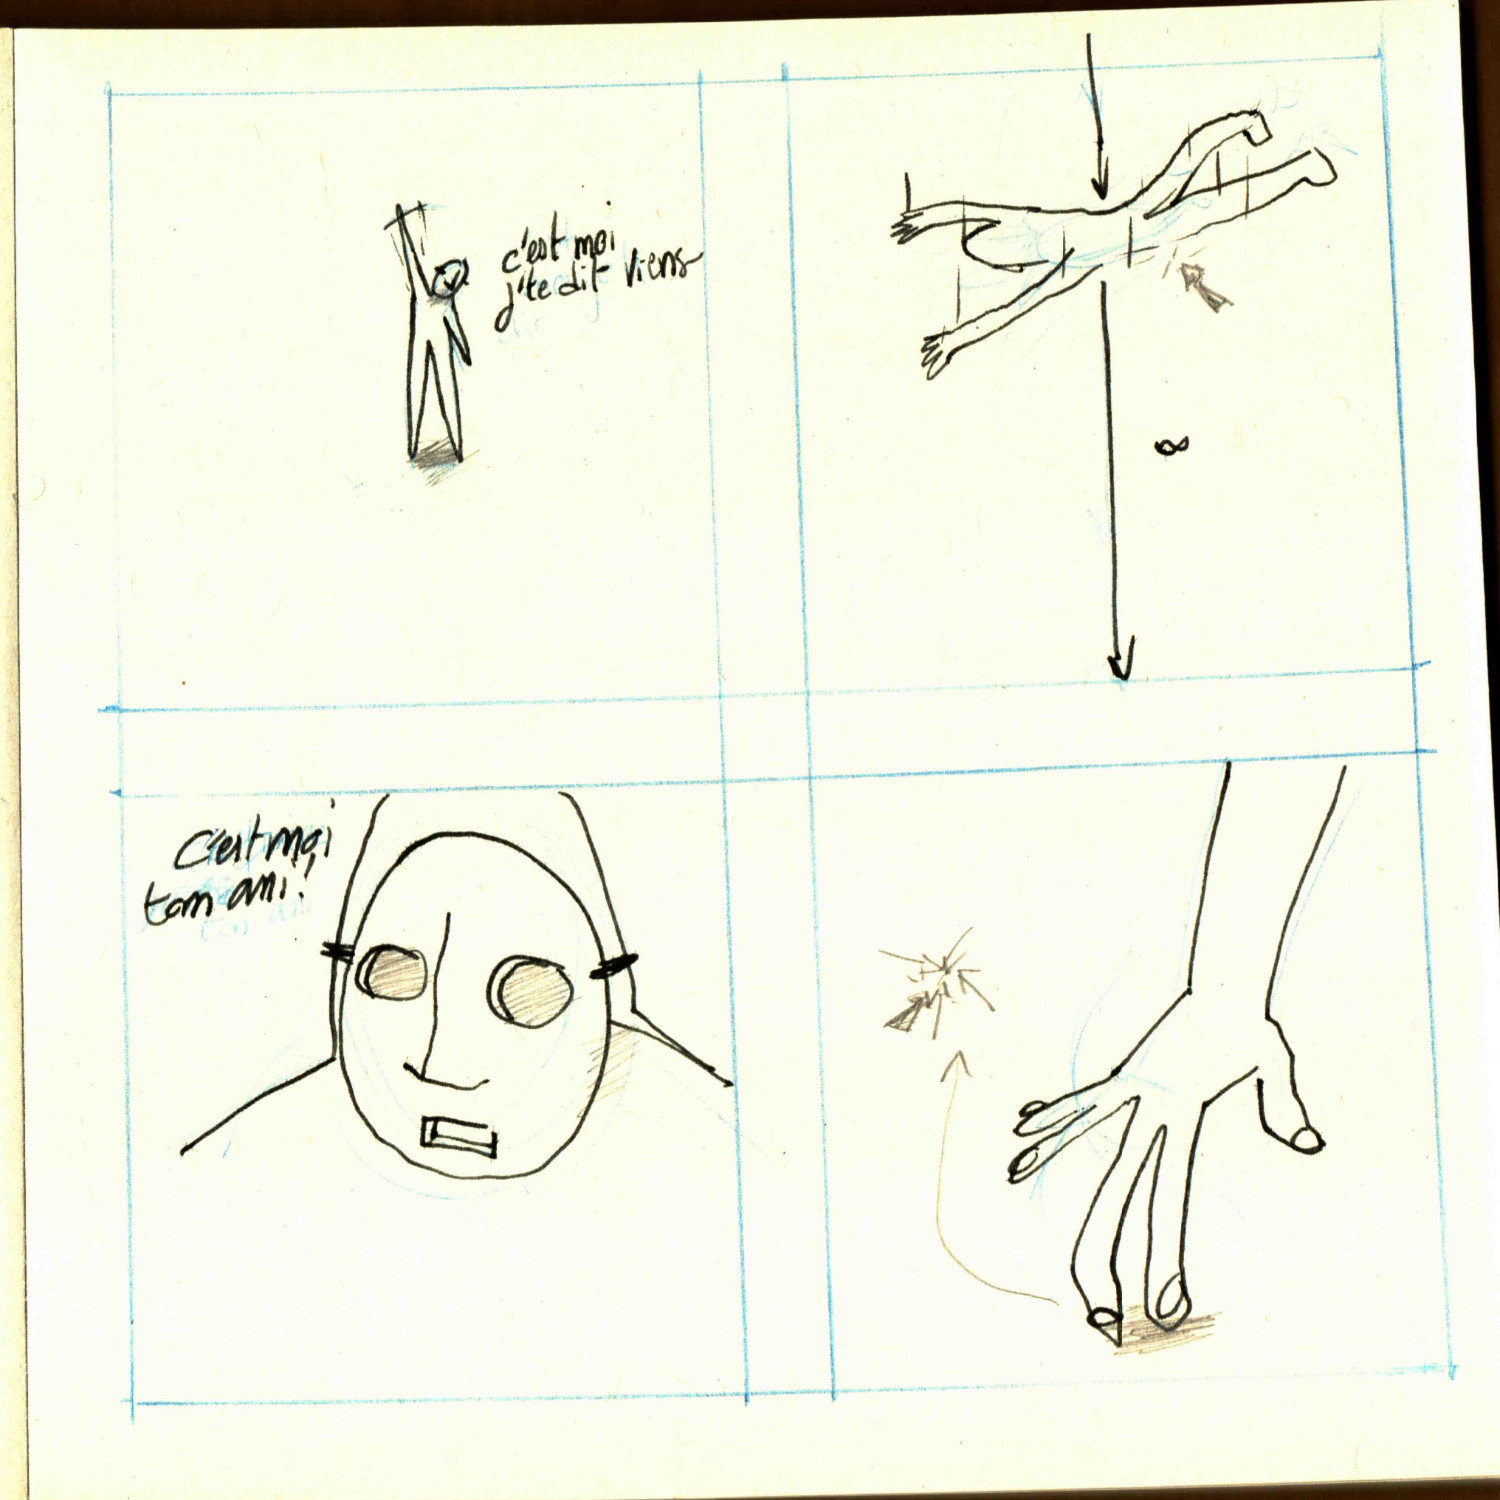
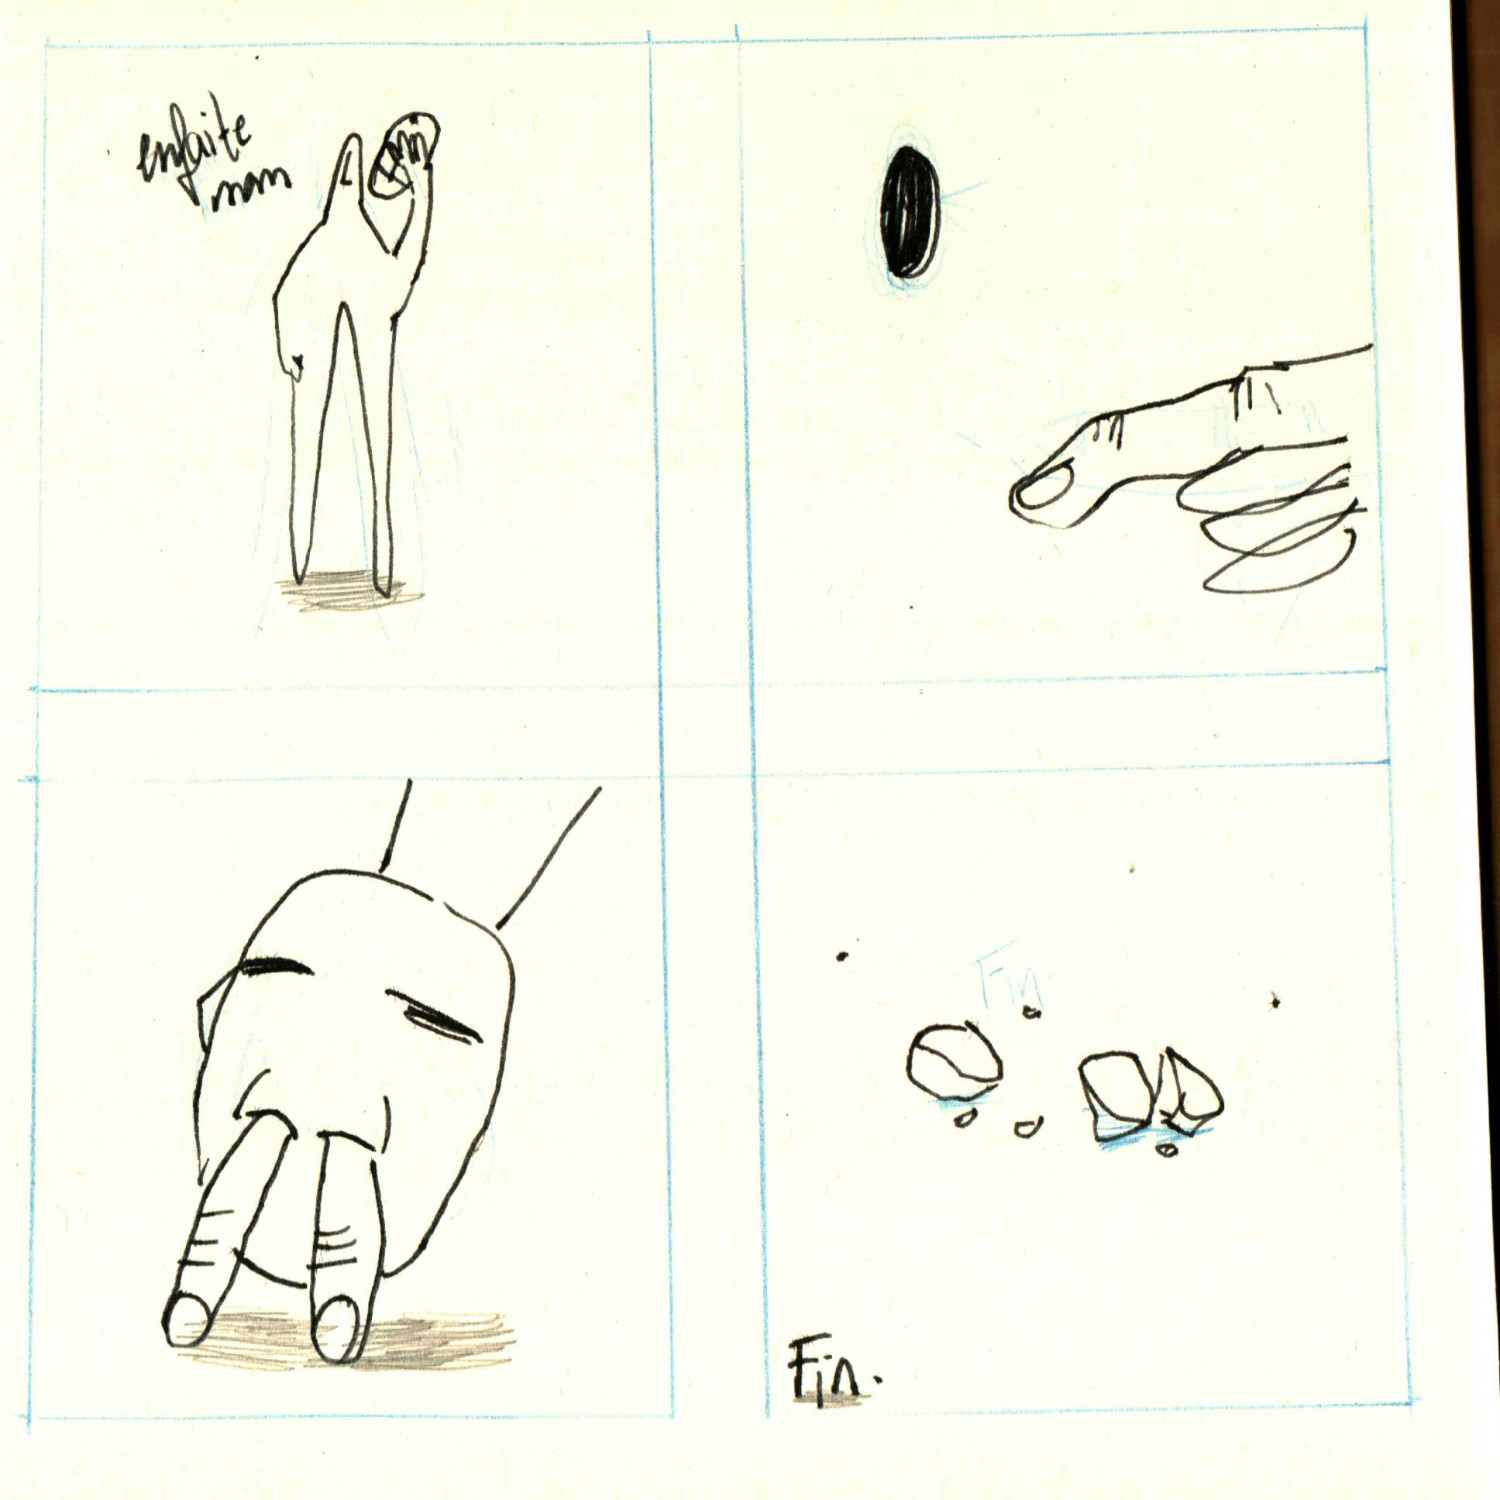
Just a couple of words about the content, it’s not necessarily “explainable” and I’m not sure it’s really interesting to do it. I like the idea of letting you navigate in something semi-abstract. A comment from my first game Brume comes back to me, “This looks like an indie impressions game.”, without agreeing entirely, does a painter really need to explain his subject? I’m not sure. What matters to me is that the change of scene, the ellipse and the interaction is conductor and narrator. In any case, I am happy with the result and the atmosphere produced.
Anywa, I go on.
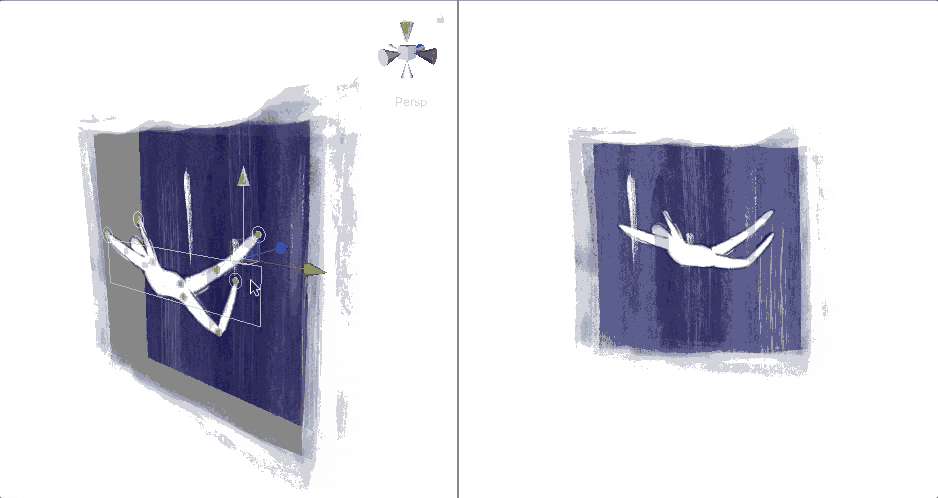
Animation (unit3D)
Now Unity’s 2D animation system, which I think is really great, but with a BIG default.
At the beginning, Unity didn’t integrate any 2d system ( when I started making my first 2015-2016 games).
There were then some paying plugins, so inaccessible to me as a student. That’s how I started 3d, which is in my opinion, less accessible and much harder to handle in order to get original graphics rendering and/or with a high price tag.
Today, it’s quite different, there was the experimental plugin Anima2D, made by Unity, which was really great. Today, it is directly integrated as an official package under the name … animation 2d. Which is for me the only real problem with this package.
As a dev/auto-didact (the magic of the internet), what makes the strength of any tool is, 1, its community, 2, its documentation, 3, its accessibility. All this information/tools are accessible via any search engine. This accessibility also depends on its referencing. And I might as well tell you that with such a basic name… Its accessibility takes a blow 😢.
For the basic package, there are a lot of introductory video made by “famous” youtubeur like the one.
So far, no worries, but when you go back to practice, problems emerge. “How to create a skeleton without PSB (batch import) files” for example, and there’s hell on earth. The referencing blocks with a name as banal as “2d animation”. It is very difficult to find relevant answers simply because of a package name.

The PSB import is pretty awesome by the way. It saves an infinite amount of time! The PSB format is the format used by Photoshop for really heavy documents (1~3GB). Unity has integrated a tool so that we don’t have to organize our image once our character is done (drawn and overlayed layer).
Little tip for Affinity users who don’t have psb export (not psd), simply rename your file my-file.psd → my-file.psb.
Drag and drop
using System;
using System.Collections;
using System.Collections.Generic;
using UnityEngine;
using UnityEngine.UIElements;

public class DirectDragAndDrop : MonoBehaviour
{
    private Vector3 mOffset;
    private float mZCoord;
    public bool x, y, z;
    public GameObject alternativeTarget;
    public bool enableLimits = true;
    public Vector2 maxX, maxY;

    private GameObject target;

    private void Start()
    {
        if (alternativeTarget != null)
        {
            target = alternativeTarget;
        }
        else
        {
            target = gameObject;
        }
    }


    void OnMouseDown()
     {
         mZCoord = Camera.main.WorldToScreenPoint(target.transform.position).z;

         // Store offset = gameobject world pos - mouse world pos
         mOffset = target.transform.position - GetMouseAsWorldPoint();
     }


    private void OnMouseUp()
    {
    }

    private Vector3 GetMouseAsWorldPoint()
     {
         // Pixel coordinates of mouse (x,y)
         Vector3 mousePoint = Input.mousePosition;

         // z coordinate of game object on screen
         mousePoint.z = mZCoord;

         // Convert it to world points
         return Camera.main.ScreenToWorldPoint(mousePoint);
     }


     void OnMouseDrag()
     {
         moveObject();
     }

     void moveObject()
     {
         if (enableLimits)
         {
             Vector3 mousePosition = GetMouseAsWorldPoint();
             Vector3 final = new Vector3(x ? mousePosition.x : 0, y ? mousePosition.y : 0, z ? mousePosition.z : 0);
             final += mOffset;

             if (final.x < maxX.x)
             {
                 final.x = maxX.x;
             }
             else if (final.x > maxX.y)
             {
                 final.x = maxX.y;
             }

             if (final.z < maxY.x)
             {
                 final.z = maxY.x;
             }
             else if (final.z > maxY.y)
             {
                 final.z = maxY.y;
             }
             target.transform.position = final;
         }
         else
         {
             Vector3 mousePosition = GetMouseAsWorldPoint();
             Vector3 final = new Vector3(x ? mousePosition.x : 0, y ? mousePosition.y : 0, z ? mousePosition.z : 0);

             target.transform.position = final + mOffset;
         }
     }
}
Let me put it to you this way 🙂.
Every object must have a collider with a RigidBody.
Dynamic hole
For a very long time, I’ve been trying to introduce myself to 3d real-time vertex modification, such as dynamic hole control, without success. That was probably the biggest technical challenge of this jam. For a long time I couldn’t find a clear example or tutorial. The solution was ‘simple’ (remember the accessibility 😅 ), google → “How to make Donut Country”.
If you don’t know the technical terms, finding a game that uses this mechanic ~ technique ~ principle (or the scene of a game), then it will probably be the fastest way to find the solution to your problem. In this case for me, it was this game, Donut Country, which is based entirely on this principle.
I give you some video links that were very useful to me.
I’ve created a lot of assets on my iPad:
- the drawings → Procreate ~ $10
- Ambient sounds https://www.youtube.com/watch?v=0Nr_xz_sSTs Audio synth Kith (free)/Garage band and free online sounds (free of charge)
If you’re starting out in Unity, I recommend this collection of tips:
Also concerning the scene transitions, I standardized it, following this tutorial, yes, Brackeys accompanied me a lot, it’s a good introduction to discover the good terms and basic practices 😉.
I didn’t explain everything, it’s long 🙂. If there are requests, I could detail things.
Also check creations other pang pang friends, there are some cool stuff → [https://itch.io/jam/ppj-vignette/entries]
If you have any suggestions/feedbacks/questions, I’ll take them!
If you liked my games, please buy me an organic rice bow 🍚.
Tschüss, I love you 💕.
Leave a comment
Log in with itch.io to leave a comment.